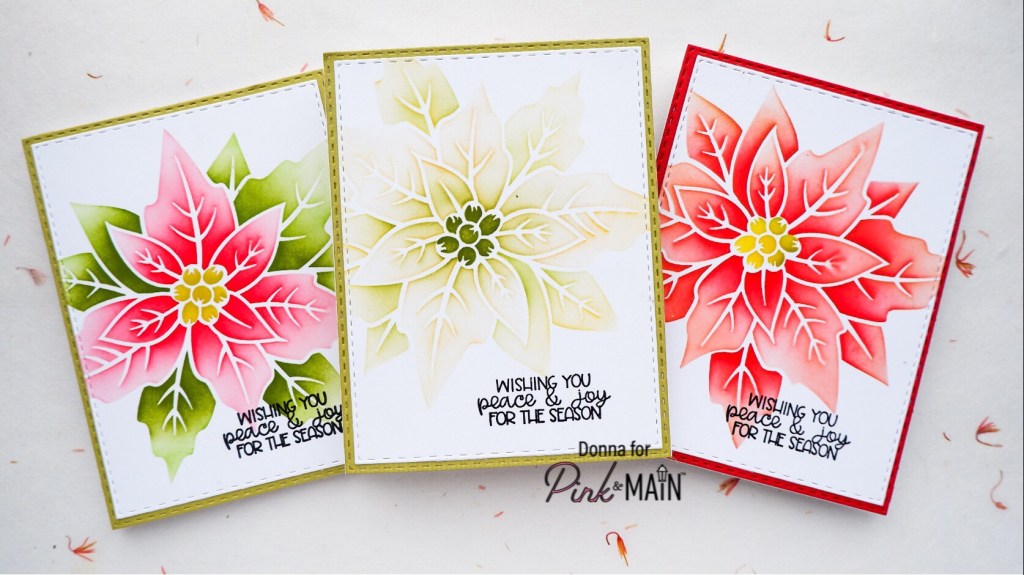
Hello crafty friends. It’s finally cooling down here in Japan, and I’m so excited! I’ve been playing with the Poinsettia Stencil, which is new from Pink and Main, and I’ve made a video showing how to use this single stencil with three layers included in its design.
I first prepared the stencil with some Tombow Mono Multi Glue. I used my finger to put a little on the back of the delicate parts of the stencil and left it to dry. When it dries, this glue becomes removable, and it’s a great trick to use it on the back of stencils. You can see the whole process on the video below. It’s a great way to get your stencils to behave themselves!
For the first card, I chose to use different colours for the different elements of the Poinsettia flower, choosing greens for the background and vibrant pinky reds for the front petals/leaves. All the colours that I used are in the supply list below if you’re interested in the exact colours. I used two colours of ink for each of the areas, blending the lighter colour over the whole leaves before coming back in with the deeper colour in just the centres.
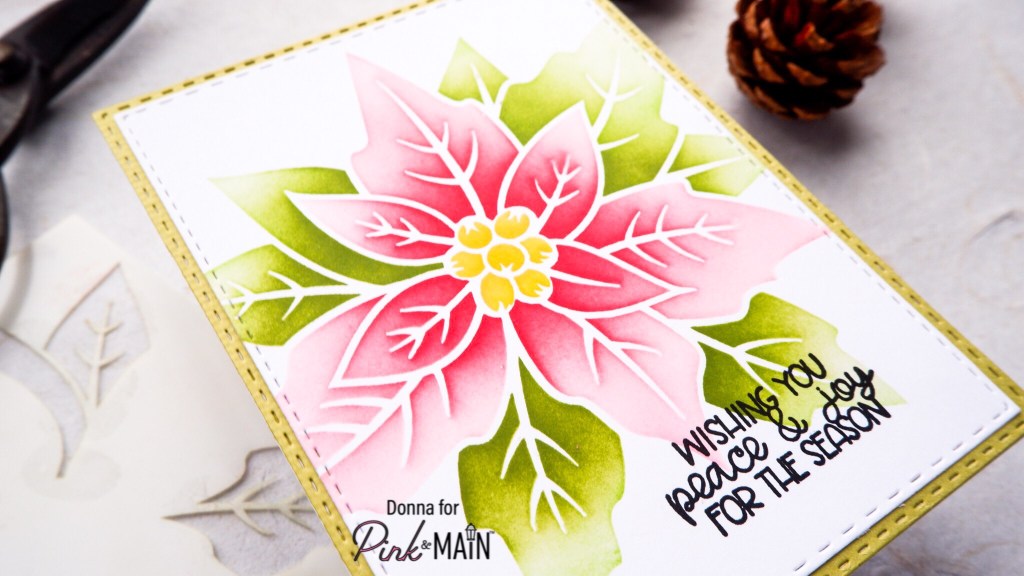
The great thing about this stencil is that you don’t have to fuss over how to line it up, because all the elements of the flower are facing the same direction on the stencil. It’s one of those little details that I didn’t even notice until I started using the stencil.
For the second card, I made a very pale colour scheme, based on some pictures of whitish green poinsettias that I found on the internet.

Finally I went for a vibrant warm red, made by blending an apricot ink under the reds that I used for the first card.
The sentiment comes from the adorable Winter Cardinals Stamp set. I love this set, and both the cute chubby birds and the mixed font sentiments are getting a lot of use from me! I stamped the sentiments in Versafine Onyx Black ink, because it’s rich and dark and can stand up to being stamped over the image. These cards could easily be made as one layer cards, but what would I do without my Stitched Rectangle dies? I used both Set 1 and Set 2 from the Pink and Main dies, because I love the way the sizes fit together to make a fine border.

I hope you’ve enjoyed seeing these cards, and that you found the video helpful.
For more crafty inspiration, feel free to follow me on YouTube or Instagram, or my blog.
Until next time, may your days be full of peace and joy, just like the wish on the cards,
Blessings,
These are the supplies I used. You can click on the link to shop. Where available, I have used affiliate links, which means that I will receive a small commission at no cost to you. I’ve tried to link to companies in different countries, so you can save on postage costs. Thank you so much for your support.
 Pink and Main Stitched Rectangles 1 Shop at: P&M |
 Pink and Main Stitched Rectangles 2 Shop at: P&M | SBC |
 My Sweet Petunia MISTI Shop at: SBC | SSS |
 Pink and Main mini Ergonomic Blender Brush Shop at: P&M | SBC | SSS |
 Versafine Onyx Black ink Shop at: SBC | SSS |
 Distress Ink Festive Berries Shop at: SBC | SSS |
 Distress Ink Peeled Paint Shop at: SBC | SSS |
 Distress Ink Abandoned coral Shop at: SBC | SSS |
 Simon Says Stamp Citrine ink Shop at: SSS |
|
 Simon Says Stamp Apricot ink Shop at: SSS |
 Pink and Main Poinsettia Stencil Shop at: P&M | SBC | SSS |
 Simon Says Stamp Duckling Dye ink Shop at: SSS |
 Distress Ink Mowed Lawn Shop at: SBC | SSS |
|
 Tombow Mono Multi glue Shop at: SSS |
 Neenah Solar White 80lb card Shop at: SBC | SSS |
 Neenah Solar White 110lb card Shop at: SBC | SSS |
 Paper Rose Blending Brush no Cap Shop at: SBC |
|
 Paper Rose Blending Brush with Cap Shop at: PRS |
